
Tyre checks are useful throughout the year, not just before an MOT. Looking at tread, pressure and visible damage together gives you a better picture than relying on a dashboard light or a quick glance at one tyre. A valid MOT does not remove your responsibility to keep the car roadworthy.
Start with a safe place to check
Park on firm, level ground away from traffic, apply the parking brake and switch off the engine. Work only where you can reach safely. Do not crawl under the car or jack it up for this owner check. If you cannot inspect an inner sidewall or another area safely, ask a tyre specialist.
Useful equipment includes a tread-depth gauge, an appropriate pressure gauge, the vehicle handbook and a note of your readings. Check all four road tyres; matching the result from one wheel does not establish the condition of the others.
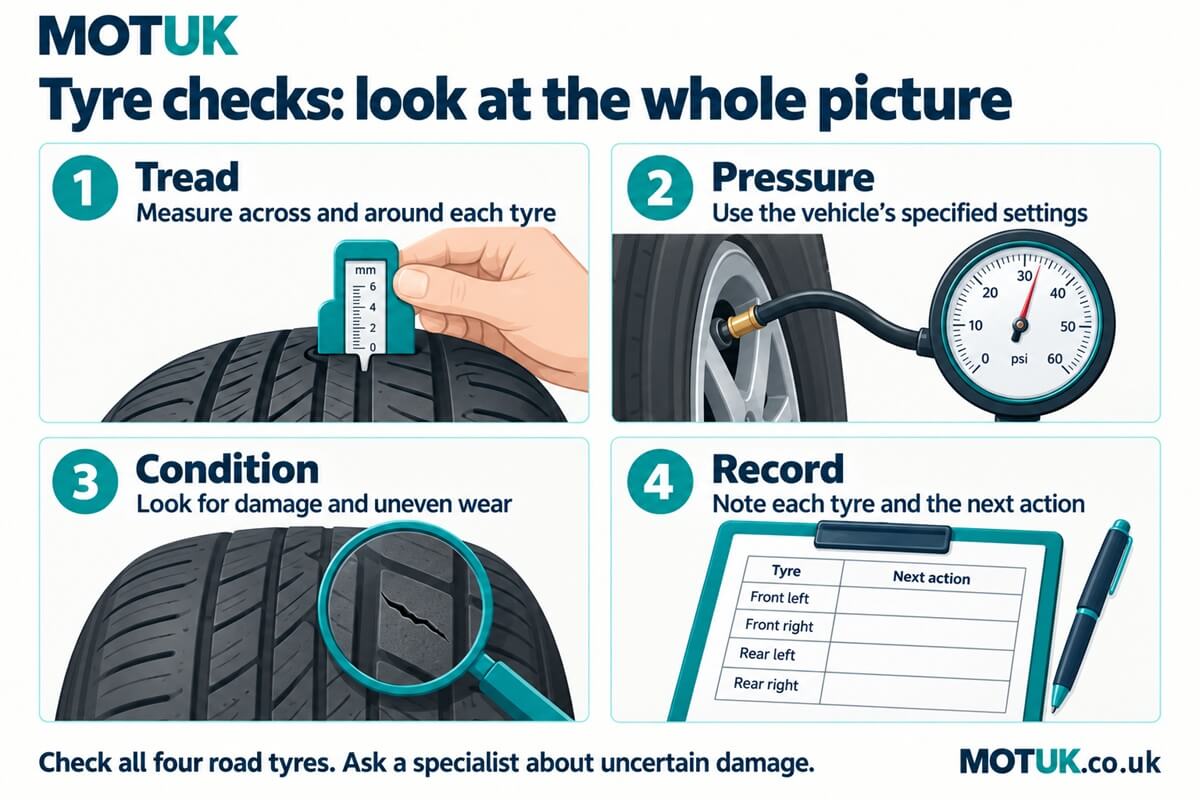
Measure tread across the tyre and around it
For cars, light vans and light trailers, the legal minimum is 1.6 mm across the central three-quarters of the tread’s breadth, around the entire circumference. This is a minimum, not a target to aim for before arranging replacement.
Use the gauge according to its instructions in the main tread grooves. Take several readings across the required area and at different accessible points around the tyre. Note the lowest relevant reading, rather than choosing the best-looking groove. Raised wear indicators should not be mistaken for the bottom of a groove.
If you need to inspect a different part of the tread, move the car only where it is safe to do so, then secure it and switch off again before continuing. Seek a professional check if access is difficult. A casual visual check cannot measure a tyre close to the limit reliably.
Check pressure against the vehicle’s specification
Find the recommended pressures in the handbook or on the vehicle’s pressure label. The front and rear values may differ, and a full load may require different settings. Follow the stated measurement conditions and use the correct units; do not treat a number on the tyre sidewall as the car’s recommended setting.
Record what you find before adjusting it. If one tyre repeatedly loses pressure, arrange an investigation instead of making repeated top-ups your maintenance plan. A TPMS warning is an alert to investigate; the system does not replace a physical check.
Look for damage and uneven wear
- Bulges, exposed cords or separation: do not continue driving; obtain advice about safe recovery or replacement.
- Cuts, cracks or embedded objects: have their significance assessed. Do not pull an embedded object out merely to see what happens.
- Wear concentrated on one edge or in patches: ask for an inspection of the tyre and possible underlying causes. Appearance alone does not diagnose alignment or suspension.
- Damaged valves or repeated pressure loss: arrange a check, especially before a longer journey.
If the car also has unusual bouncing, knocking or handling changes, mention these together. Our shock absorber guide explains why symptoms need assessment rather than a guessed replacement.
What does the MOT check?
The tester considers tyre suitability, size, structure, condition and tread, along with relevant TPMS requirements. Insufficient tread, exposed cords and certain serious structural defects can be classed as dangerous. Some other tyre defects are major. The exact defect determines the outcome; tyres do not receive a single blanket category.
A spare tyre is not part of the car MOT inspection, but checking any spare or mobility kit against the handbook is still useful preparation for a puncture. Tyre age also deserves attention: inspect the condition and follow manufacturer guidance rather than assuming there is a universal MOT expiry age for ordinary car tyres.
For the broader inspection, read what the MOT checks. If the vehicle has already failed, follow the rules for repairs and retesting.
Keep a simple four-tyre record
For each position, note the date, pressure and units, lowest tread reading you measured, visible concerns and next action. Mark an area “not checked” if you could not inspect it safely.
| Position | What to record |
|---|---|
| Front left and front right | Separate readings for each tyre, plus any uneven wear or damage. |
| Rear left and rear right | The same checks, even when the front tyres look worse. |
| Follow-up | Pressure-loss investigation, specialist inspection or replacement appointment. |
This turns “the tyres look all right” into information you can compare over time and discuss with a garage. Add it to your regular maintenance plan and use the printable pre-MOT checklist before the test.
Sources and review
Reviewed 10 October 2026. Sources: GOV.UK vehicle safety checks, Highway Code maintenance guidance, DVSA tyre inspection rules and parts checked at a car MOT. These are owner checks, not a substitute for professional inspection.